
Yesterday I stumbled across a photo of the beautiful Bip Ling wearing a PPQ red velvet hair bow and fell in love.
A rummage through the scraps box at home confirmed that this bow and I were meant to be as I found an old red velvet sash off one of my grandmothers old ballgowns (this wasn't cut up willy nilly, she was a size 4 ish during the war and her waist is a gazillion times smaller than mine will ever be!)...fate or coincidence, either works for me!
This took me about 45 mins to make and cost nothing, easy peasy. Obviously you could knock one of these up with any large scrap of material you may have lying around, denim or pleather would look amaaaaaaaaazing!
You will need:
- A large piece of medium to thick weight material (the heavier the material, the better it will hold it's shape)
- Tape measure or ruler
- Sharp scissors
- A glue gun
- Pins
- A needle and thread
- A hair grip
For my pretty hefty bow I used a piece of velvet measuring roughly 12.5" x 8" but depending on what size you want your measures can be changeable.
As my material is originally from a sash it does have seams running through it but they don't really appear on the velvet side.
2. Use your glue gun along the long edges and fold them up about half an inch - just helps to keep things tidier.

3. Fold the material longways and pin the rough edges together.

4. Use the needle and thread to do a simple running stitch across the top - be careful not to pull your stitching too tight or it will gather the fabric.

5. Once you've sown the top together, go over your last stitch a couple of times to finish it off and then turn the material inside out to form a tube of material, with the seam you've created in the centre of one side - this will be the back.

6. Flatten the material and use your glue gun to close the open ends of the tube.

7. Using your thumb and first finger pinch the bow together so that it gathers to form a bow, then pop a pin through the top of the gather to the bottom to hold the shape.
Make sure that the gather is right in the centre of the bow otherwise it will end up looking a little lopsided.

8. Using the scraps from your original fabric cut a length approx 7" x 1.5" then use your glue gun to glue it in half lengthways.
Remember that if you are using a material like velvet you will need to glue on the non furry side so that the velvety side will be on the outside of the bow.

9. Dab a little glue on one end of your now shorter and sturdier ribbon of material and attach it to the top of the gather on the centre of the bow - just where you put the pin in to keep the shape. Take the pin out and wrap the rest of the ribbon round the bow tightly to hold the gathers and attach the other end just behind the end you have just stuck down. You should have created a ribbon that runs the whole way round the centre of the bow.

It should look like this from the front.

10. Having created your bow you need to create a means to attach it to hair/clothes etc. As velvet is quite heavy I decided to use a large crocodile style grip that I found lying around which seems to work very well.
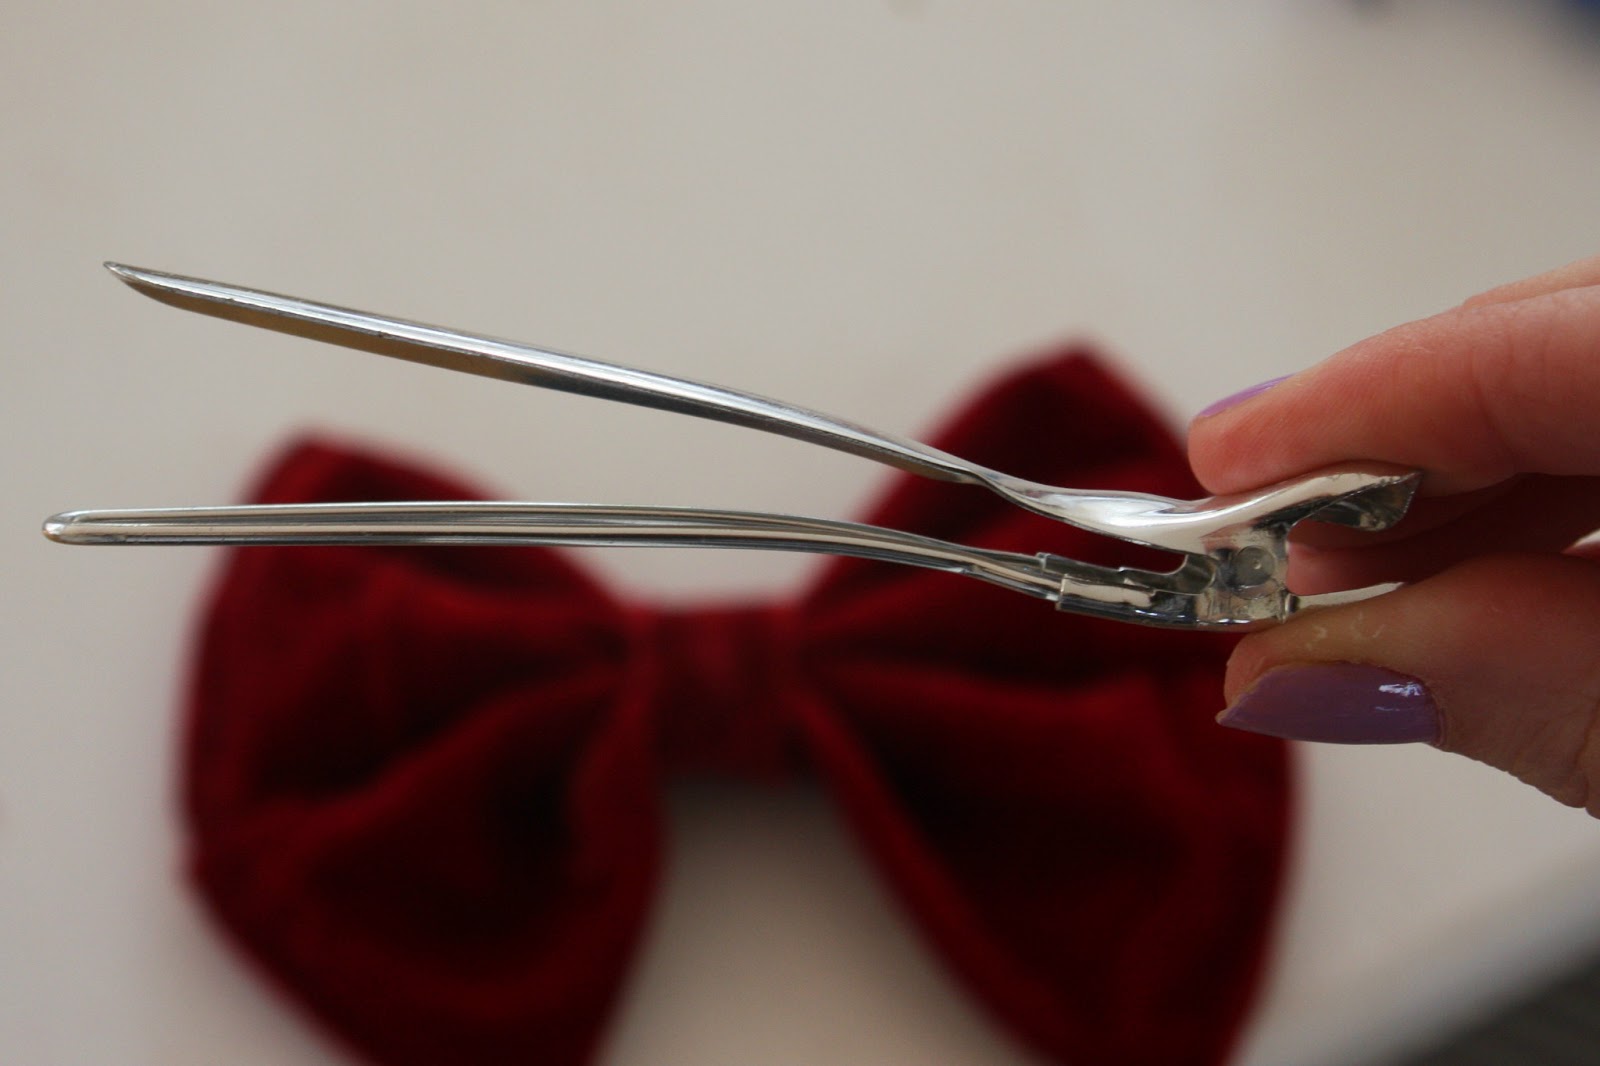
I just slid the larger side of the pin (top side in this picture) underneath the central ribbon of the bow so it sits within the gathers.
Eh voila!

What do you think?

I love the way this brightens up a simple t shirt and am already scouting for a more summery material for my next one and oooooh maybe one with studs in...watch this space!
My beautiful pooch Hector wants one too!

I'd love to know if any of you have tried making your own versions, just holler at me!
T x
This is such a cool idea, looks great:) x
ReplyDeletewww.thebeautymist.com
Thanks love! It's so quick and easy too x
Delete